Recently, I needed to scale out my web app hosted on Virtual Machine. After a few hiccups and learnings, I was finally able to Load Balance my web app hosted over multiple Virtual Machines. I have tried to document the steps in the form of a blog here.
To scale out I used following configuration:
- Two Azure virtual machines, Windows Server 2012 R2 hosting web app on IIS
- Azure load Balancer (By Microsoft)
1. Create Resource Group
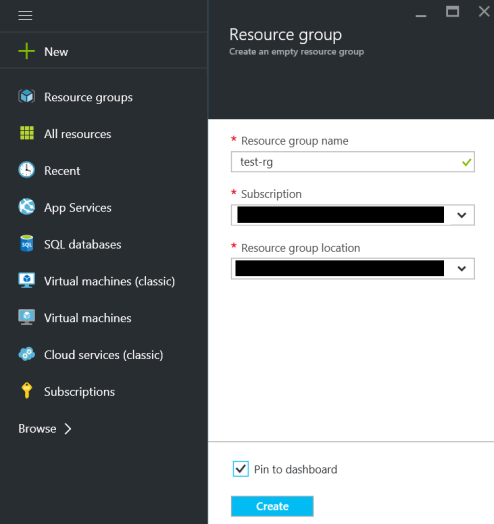
We will start with creating a Resource Group. The VMs and Load Balancer will be created in the same Resource Group. This helps us to keep things together.
On the Azure portal, go to Resource groups -> click Add -> Provide Resource group name, select Subscription and Resource Group location -> Click Create
2. Create Azure VM1 (First Virtual Machine)
Select New -> Virtual Machines -> Select VM Windows Server 2012 R2 -> Select deployment model to Resource Manager -> Click Create.
You will be taken to Create Virtual Machine wizard.
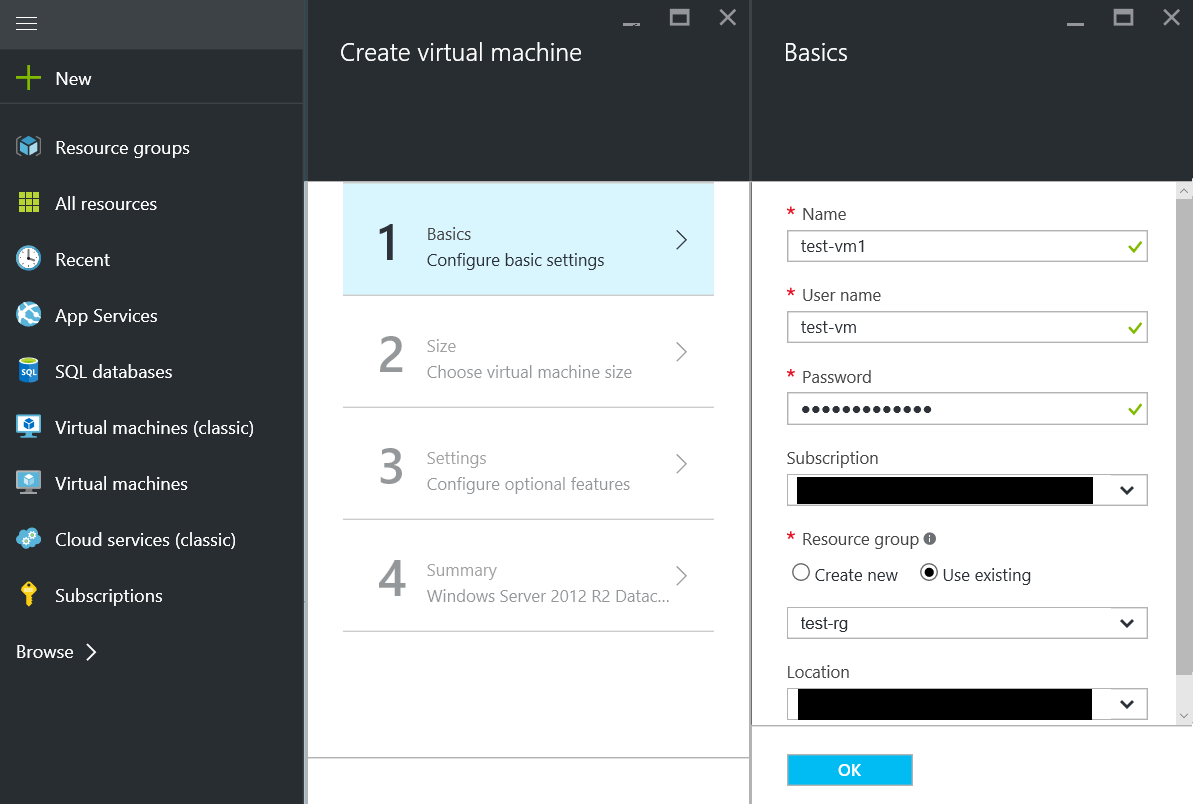
a. Basics – Configure basic settings
Provide the name of Virtual Machine, Server User name, password -> Select the Resource Group created in the previous step -> click OK
b. Size – Choose virtual machine size
Select the size of Virtual Machine and click Ok
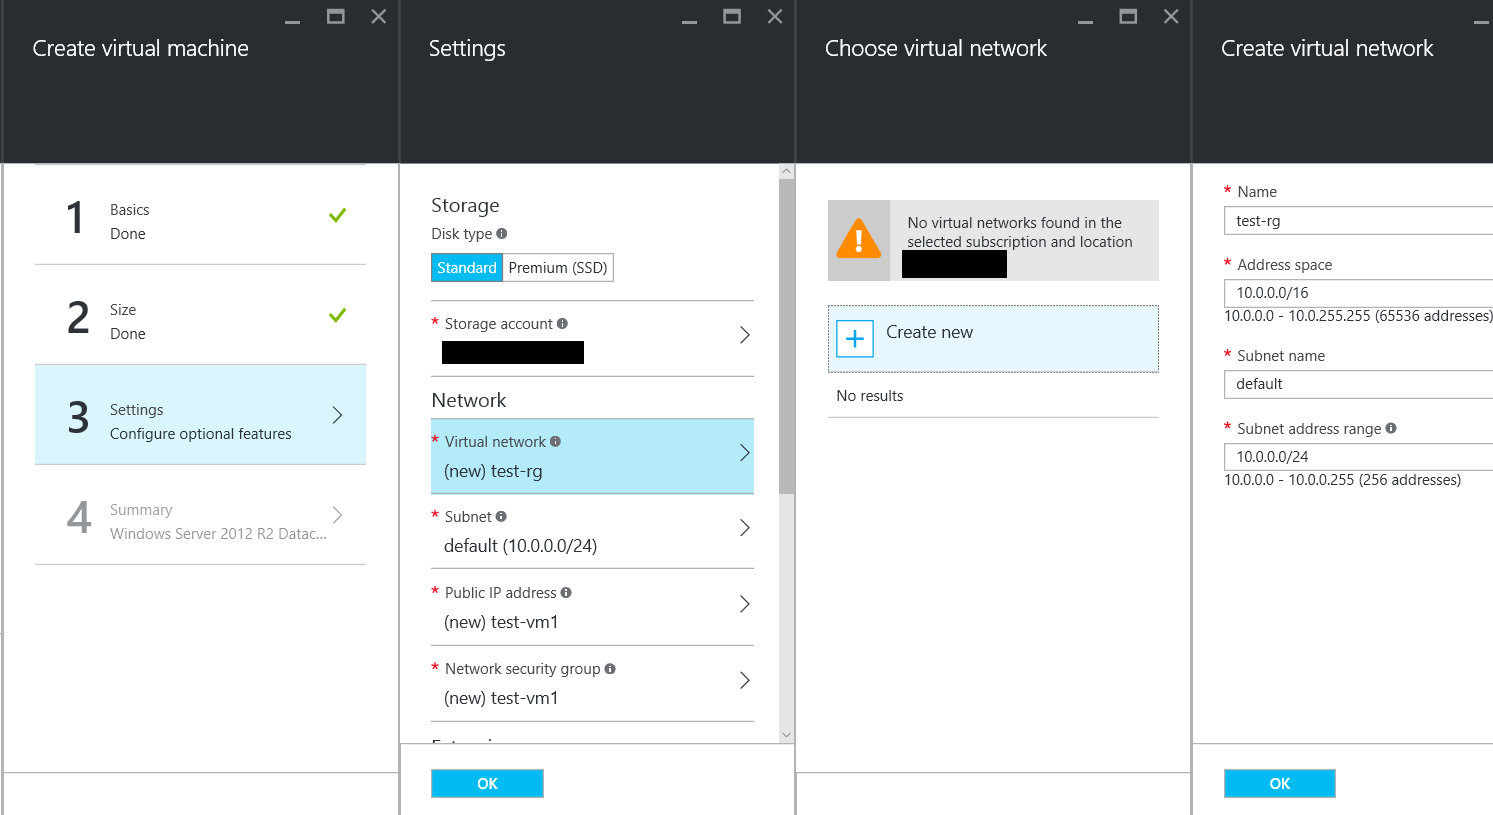
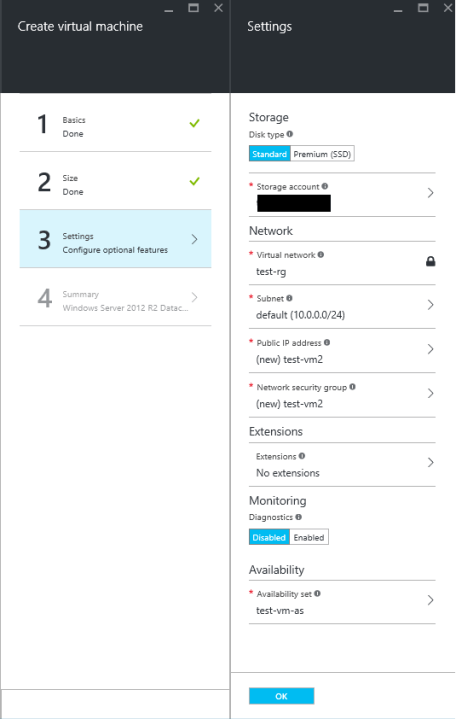
c. Settings – Configure optional features
Under Settings, Create new Virtual network.
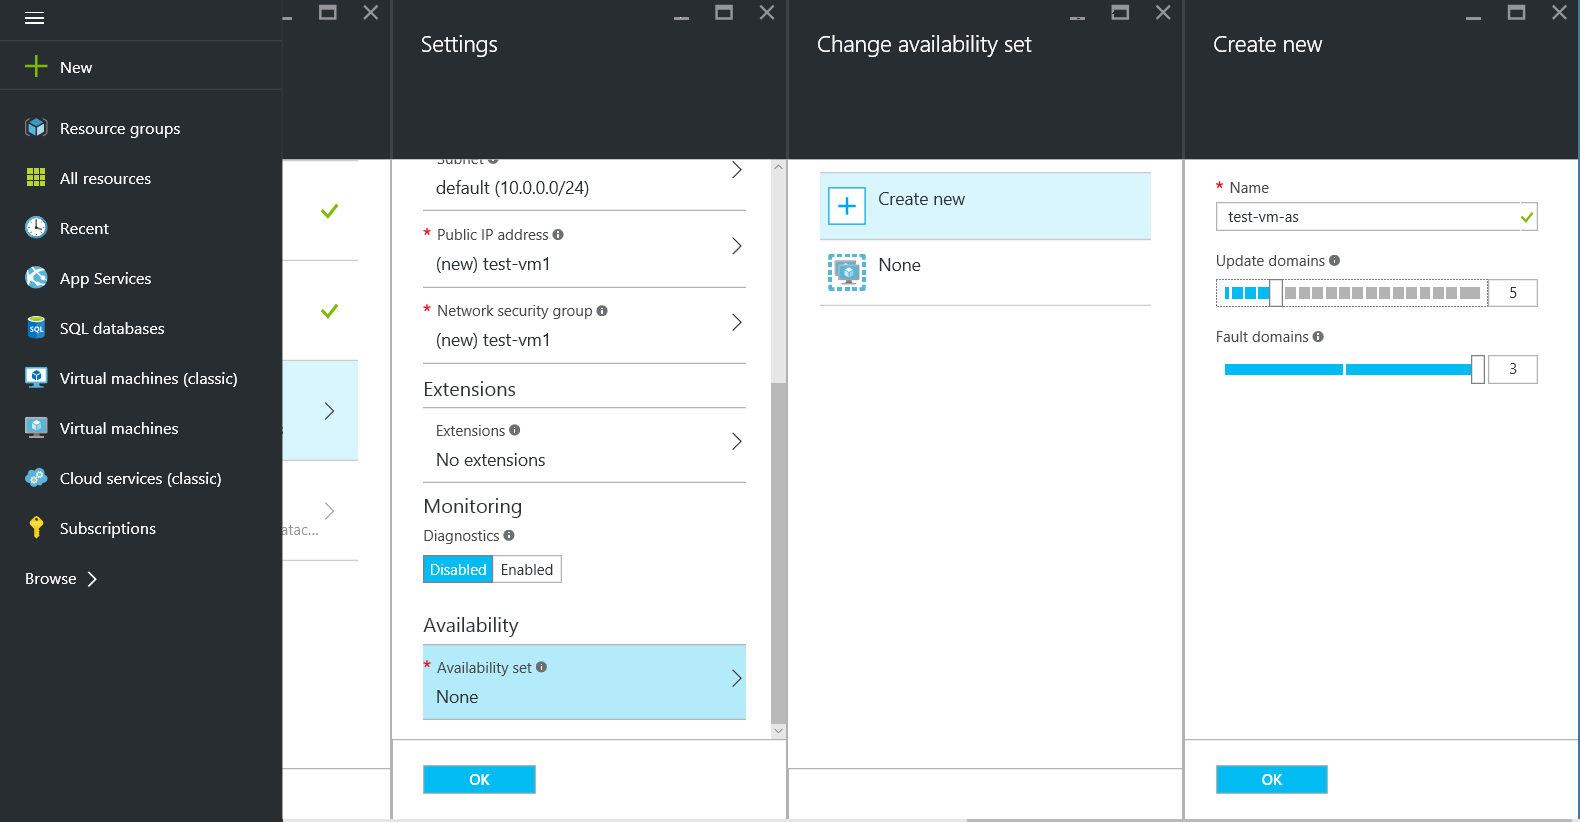
Next, create new Availability set
d. Summary
Under Summary, validate the details and Click Ok to create the Virtual machine.
3. Create Azure VM 2 (Second Virtual Machine)
Create second virtual machine similar to the first Virtual Machine. Make sure to select same Virtual Network and Availability Set.
4. Publish Web App to Azure VM
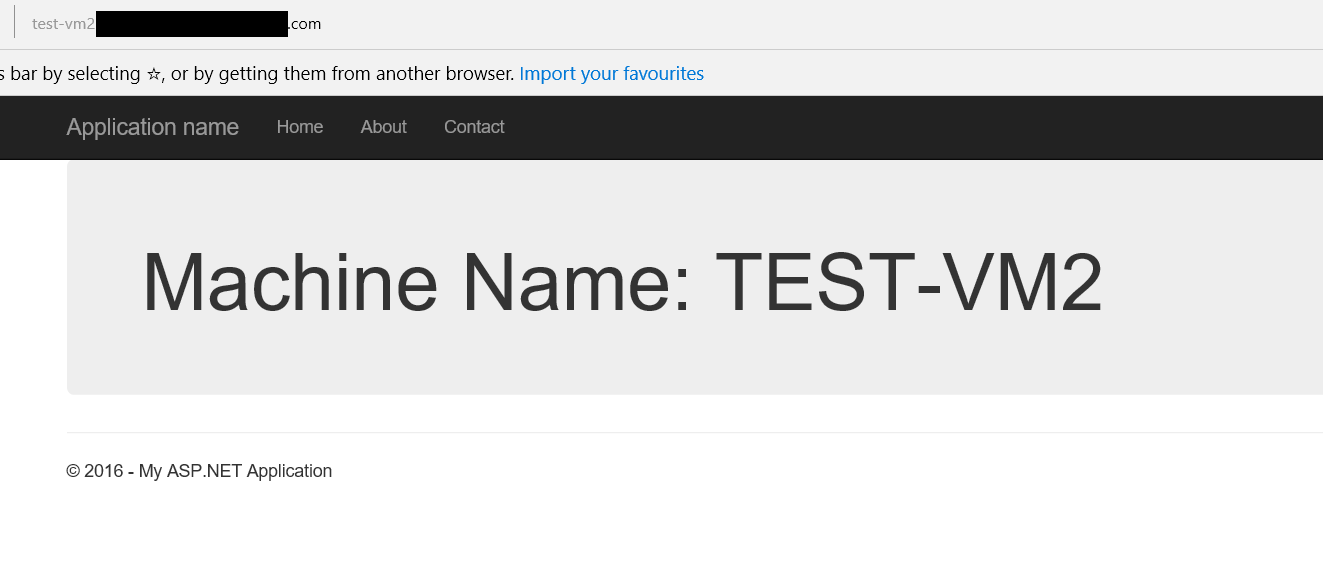
The next step is to publish the Web App to Azure VM. You can follow steps as explained in my previous blog post. For this demo, I have deployed a simple web app which displays the machine name of the server.
Virtual Machine1: test-vm1

Virtual Machine2: test-vm2
4. Configure Load Balancer
a. Create Load Balancer
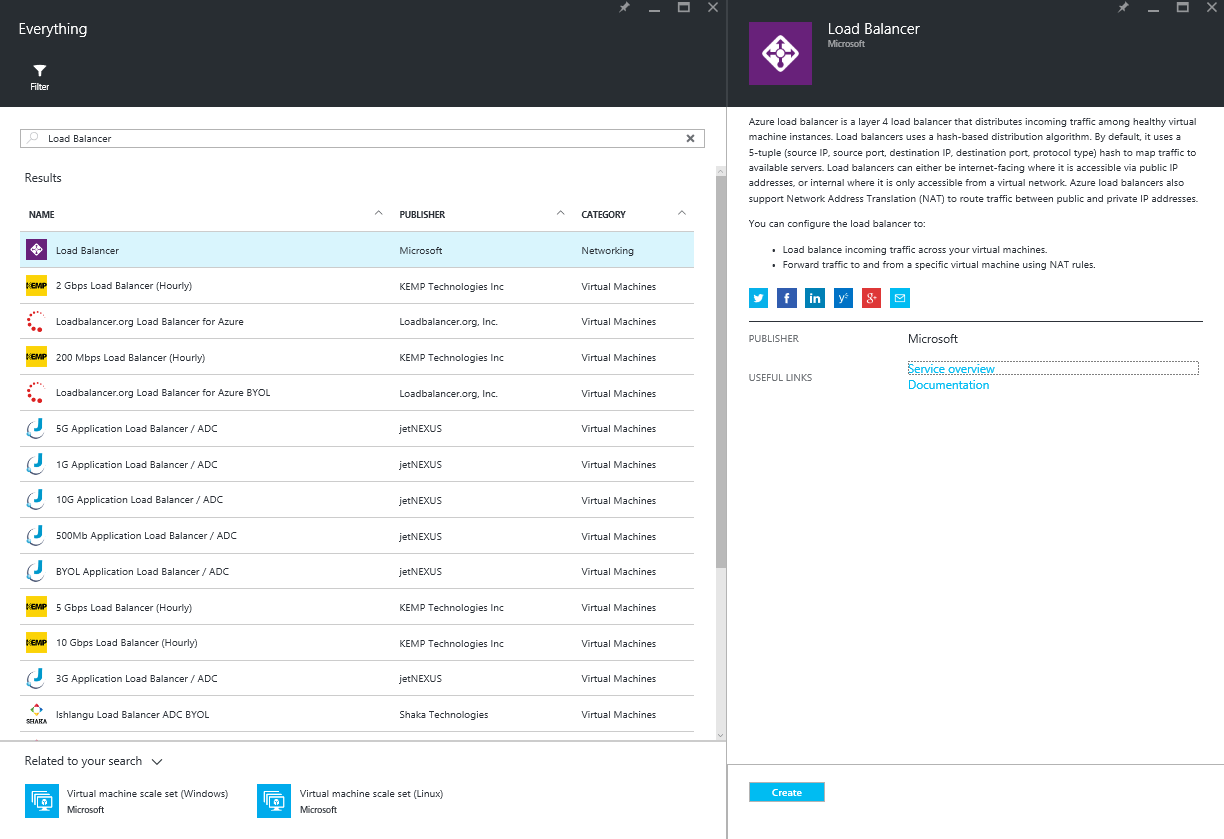
From the Azure portal, Click New -> Search Load Balancer -> Select Load Balancer with publisher as Microsoft -> Click Create
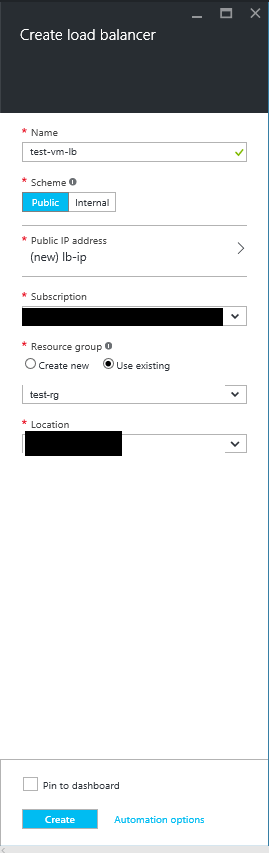
Next, in the Create load balancer wizard, Provide the Name of Load Balancer -> Create new IP address -> Provide the Resource group same as created in earlier step -> Click Create
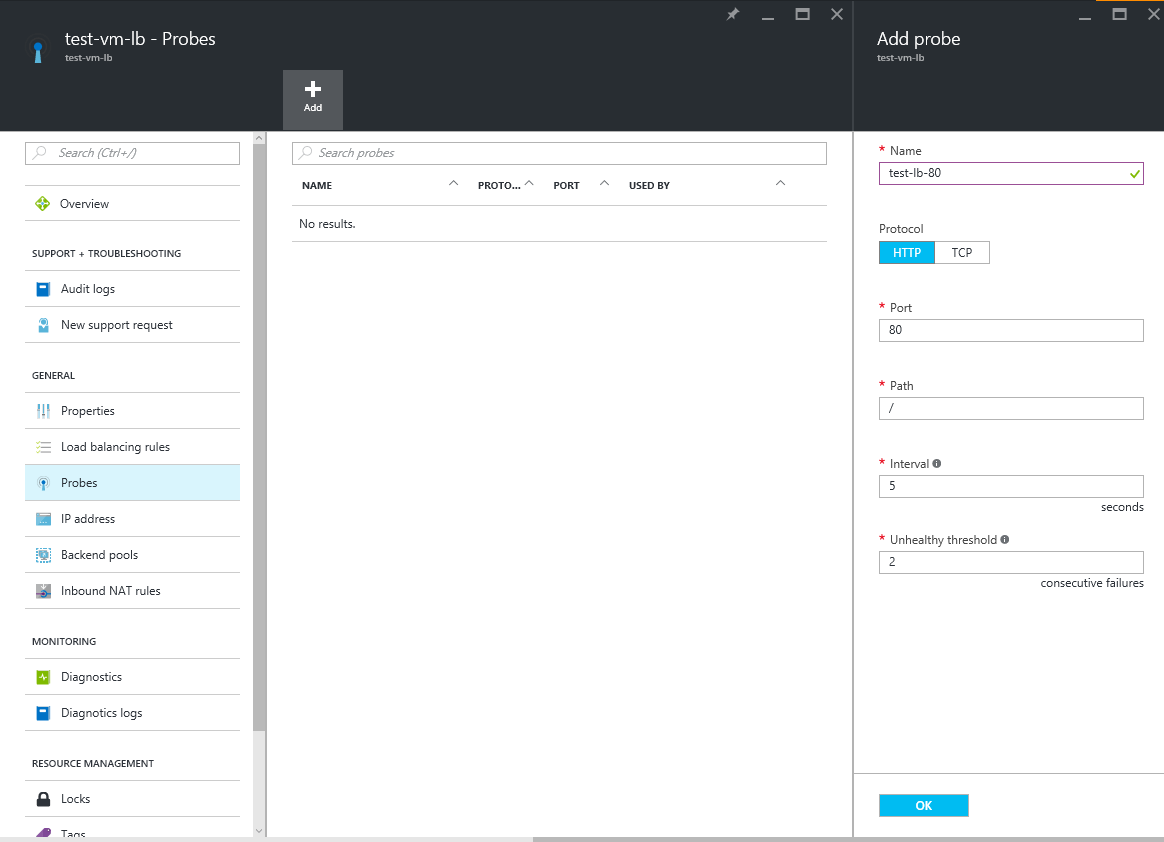
b. Add Probe
Once, the load balancer has been created, select the load balancer -> Click Settings -> Select Probes -> Click Add -> Provide the name of the probe, keep the Port number as 80 -> click Ok.
c. Add backend pool
Select the load balancer -> Click Settings -> Select Backend pools -> Click Add -> Provide the Name of the backend pool -> Select the Availability set created while creating Virtual Machines -> Choose both the Virtual Machines -> Click Select and Ok

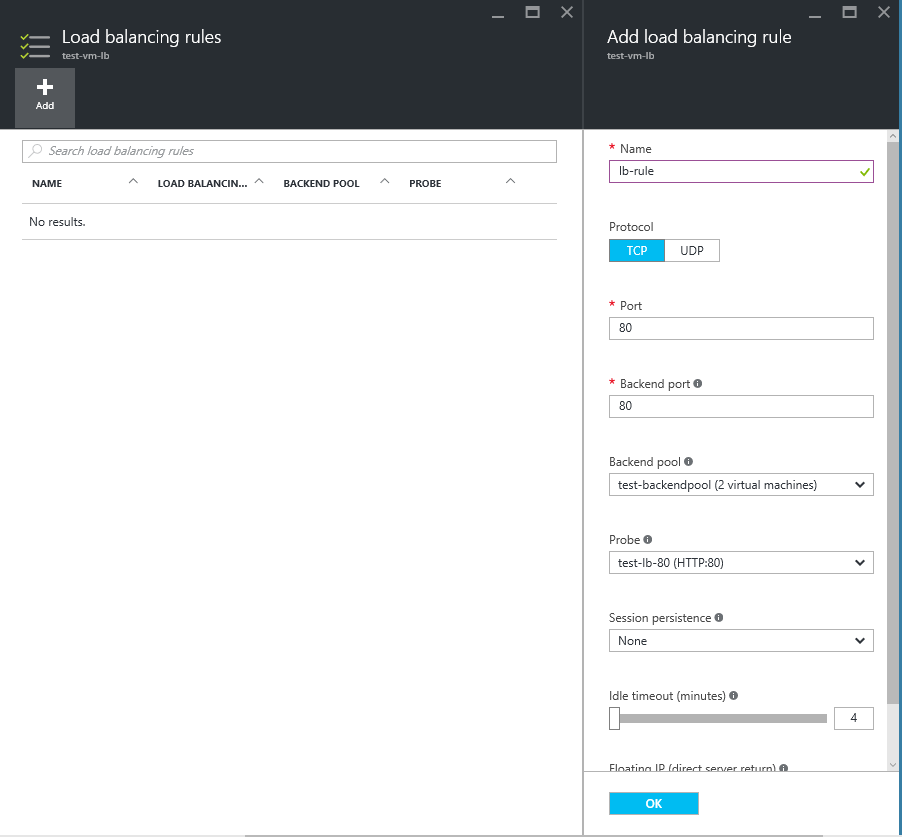
d. Add Load balancing rule
Select the load balancer -> Click Settings -> Select Add Load balancing rule -> Click Add -> Provide the Name of load balancing rule -> Select the backend pool created in the previous step -> Click Ok
e. Configure DNS Name for Load balancer
Select Public Ip Address -> Click Settings -> Click Configuration -> Provide DNS name label –> Click Save

That’s It!. We are done. Navigate to the DNS address you provided for the load balancer and you will be navigated to one of the Azure VM. To verify the load balancing, shut down one of the machines and see all the requests being redirected to the second Azure Virtual Machine.


Leave a Reply